Thursday, September 29, 2011

Solarization--5


For making a "powerful" solarized photograph, you can take a picture of just about anything, but the important thing to keep in mind is contrast! Like I said, your subject can be anything you want, but simplicity is important because otherwise it's hard to solarize the photograph with out the picture being too distracting. (However, the photographs above are not all "simple," but they turned out well.


I thought my two solarization photographs turned out pretty good. I was happy with both of them, because both photographs were not only "good," but they solarized pretty well. The only thing I was sorta bummed about was, on my picture of my goats--i guess the chemicals ran in the dark room and theres a few streaks..however it works because it looks like the sun's rays. I was happy with the pictures over all.

Monday, September 19, 2011

Polariod Transfers--4


I think each of these photos are unique in their own ways, I like the "old timey" look especially. What makes a good polaroid transefer is a simple photo (like the stawberries above-very simple) Simplicity is key, you want a subject and a very calm subtle back round. You don't want a "busy" photo.


Evaluation of my Images:
Overall, I was very happy with my two Polaroid transfers, there was some good composition in both of the images. My light was great, there was some layering going on, some framing, and some rule of thirds. I used a zoom lense which helped with  focusing, because I was taking pictures of my goats. But, overall, I was very proud of my Polaroid Transfers!

Friday, September 16, 2011

Layering Questions --3

layering
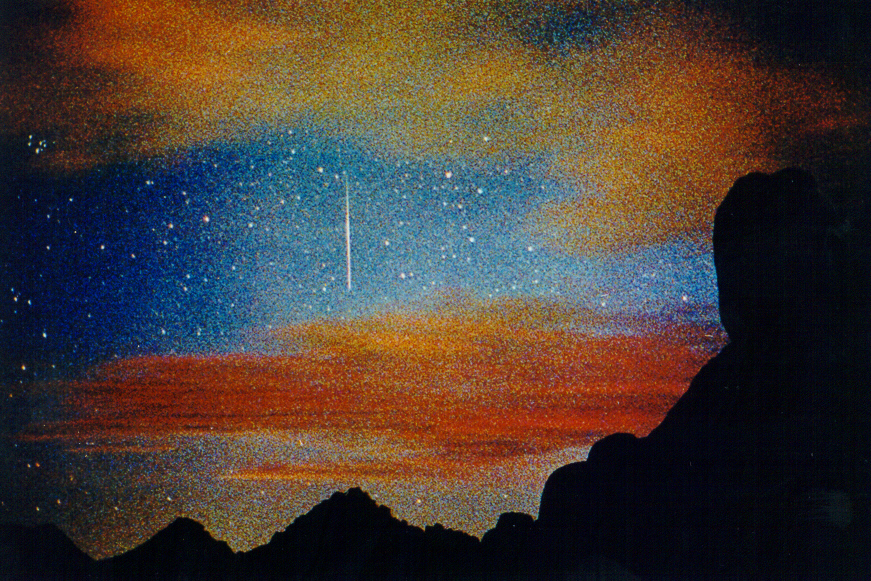
In this photo there are multiple layers. There 3 different mountains
and they are are all layered. So, there is a lot of laying going on in this
photo. I think what makes this photo graph "work" is the actual layering
of the mountains. The actual layers on the mountain. It makes it
really unique cause it's not just different subjects as layers it's one
subject physically layered. In this photo, yes, many of the layers intersect.
But, I do not think it distracts, because In my opionion thats what makes
this picture so awesome.

There are many layers in this photograph as well. The bike, the cars, the trees, and
the buildings in the back. What makes this photography work is that theres not too
much going on. I think what helps is that the road is fairly "clear" of cars, minus the
cars parked on the sides. I'd say for the most part that the layers do not intersect so
it doesnt make it hard for the viewer to depict whats going on.

In this picture there are four layers. The little boy, the grass, the people, the trees,
and then the sky. This photo works because once again theres not too much going on. It's
very clear to everyone that there are two things going on in the picture. The photo being
taken by the little boy, and the people smiling for the photo. The layers in this photo do
not intersect whatsoever.


In this particular photo there are alot of layers. Almost too many to count.
I think this photo is so busy, thats what makes it "work." Its just a busy photo and yes
many of the layers do intersect;  the clothes, the signs..the darkness of the photo..

This assaignment makes you a better photographer for a couple reasons. One, it helps
you to judge someone elses layering photos and see what works and what doesnt and
also gives you some ideas on what you could have done or still can do when trying to
layer photographs.
Fiber paper is a better museum paper because of the text sure it has.
My layering roll was okay..a lot of my photos didn't turn out as i had anticipated. I took some good photos but little things made me not want to print them..Such as; blurryness. One of the photos however was a photo i took using layering and the rule of thirds, because the flower pot was in the corner, with the flowers, stones and gate in the picture as well. The pictures I took at my field hockey game I guess I just took too fast and they didnt turn out very well.

Tuesday, September 13, 2011

3200 film--2

I chose these two photos because they were the first to catch my eye when I searched "3200 film." These photos have great grain in them and are very helpful to someone like me when getting an idea of how I want my 3200 photo to look like. And as you can see in the first photo the layering going on and the great colors. I really like using the 3200 film because it's something different. Since, we normally use 400 film it's fun to do a different film and get a different outcome. And I really like how the grain in the 3200 film stands out. The lighting I used for my 3200 film was actually fairly dark. The grain came out well, but the photos were both pretty dark, Even with the use of dodging and burning! I was pretty happy with both of them, however  they could have been better for multiple reasons like lighting, dust, and creativity. The ISO i set my camera to was 3200, and the advantage to this film is the uniqueness and different appearence it brings to the photograph. While the disadvantage to some people may be that they may not like that sort of grainy tone.

PHOTO 2--1

I thought that my first roll of film was...Okay for a first roll. I did some things wrong, and they wern't that great of pictures, but it was also my first roll back from summer. So, I had fogotten some important aspects of shooting, and thats why i scored an 87 on my 2 prints. My two pictures were of a fruit bowl and a pumkin. I liked the subject of both but thats about it. I just didn't quite like just how the photo turned out in general. The photo(s) could have been better for a couple reasons: if they were focused, and if they didnt have so many distracting elements. I can improve on just about anything and everything as a photography student. I have learned alot and continue to learn alot by the mistakes i make on a regular basis. However, using filters, dodging and burning I do feel fairly comfortable doing. Once I get the hang  of it!